|
<< Click to Display Table of Contents >> Attribute Types |
  
|
|
<< Click to Display Table of Contents >> Attribute Types |
|
A minimum / maximum range, e.g. 0 to 100
A minimum / maximum range, e.g. -9.99 to 9.99
A minimum / maximum range expressed as an integer, e.g. 0 to 65535
A minimum / maximum range expressed as an integer, e.g. 0 to 65535
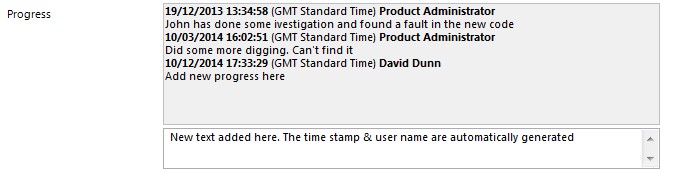
| • | The top section is a read only and contains the existing text. |
| • | The bottom section is a text box into which new text can be entered. |
The History attribute can contain a virtually unlimited amount of text however each entry is limited to 32767 characters.
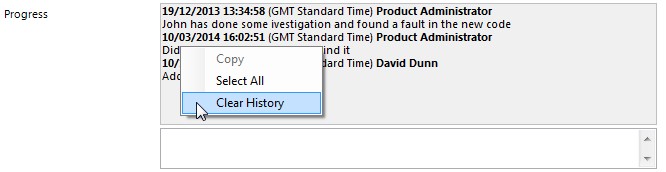
The History is intended to provide an immutable audit trail and therefore it is not possible to edit. However in extraordinary circumstances it may be necessary to clear the historical data. This may be performed only by an administrator and they must have enabled Elevated Mode prior to editing the item.
Right-click the history text and select Clear History. Confirmation will then be required. When the item is saved the history will be cleared and an audit message will be written into the history to document the clearing.

A minimum / maximum date
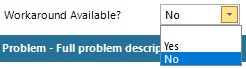
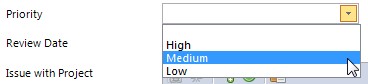
The administrator supplies the possible values that populate the drop down
are supported):
mising images
Submit
Results per p

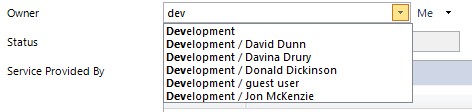
The drop down list is populated with <blank> which allows the attribute to be cleared (pressing the Delete key when the control has focus also allows this). It is also populated with all the Groups that the user is currently a member of.
![]()
The drop down list is populated with <blank> which allows the attribute to be cleared (pressing the Delete key when the control has focus also allows this). It is also populated with the current user.
Clicking the person icon will display the user's details.
The drop down list is populated with <blank> which allows the attribute to be cleared (pressing the Delete key when the control has focus also allows this). It is also populated with all combinations of the current user in the context of the Groups that they are members of.
If a user is specified then the person icon will appear allowing easy access to the user's details:
![]()
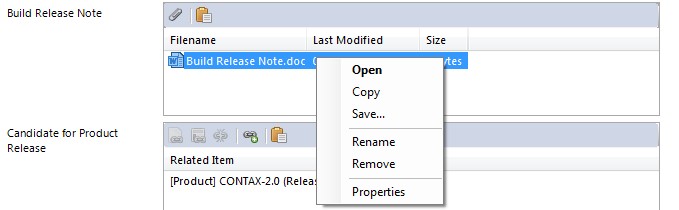
| Add button (paperclip) | Take a file from the file system, add it to the Item Library and attach it to the current Item. |
| Paste button | Takes the contents of the windows clipboard and attaches it to the the item. If the windows clipboard contains files then these will simply be attached. However Cimera is smarter than that: |
| If the clipboard contains a bitmap image (e.g. after pressing the Print Screen key) then Cimera will create a new temporary file with a .jpg extension, save the bitmap data to it and then attach it to the item |
| If the clipboard contains text data then Cimera will create a new temporary file with a .txt extension, save the text data to it and then attach it to the item |
To add an attachment of any other type, create it separately and attach it using the Add button, or by dragging and dropping it onto the attachment control.
| Open | Open the file, changes made cannot be directly saved back into Cimera. Make the changes and re-add the updated file as a new attachment. |
| Save | Save a copy of the file to a user specified location. |
| Remove | Remove the attachment from the item. The file is not deleted from the Item Library. |
| Properties | Show the properties of the attachment, this includes the original file path of the object and its Item Library ID. |
| F2 (rename) | Change the display name. Note: the attachment is identified by, and stored under, its internal Item Library ID, and not its display name. |
| Dragging & Dropping | Files (one or many) may be dragged and dropped onto the attachment control to attach them to the current item. You can also drag and drop files from the attachments control to the computer's file system to take a copy. |
| You may also drag and drop files between Cimera items. |
Whilst this control will appear on the form when displaying an item this is not actually an attribute of the item. It is used to manage relationships with other items.
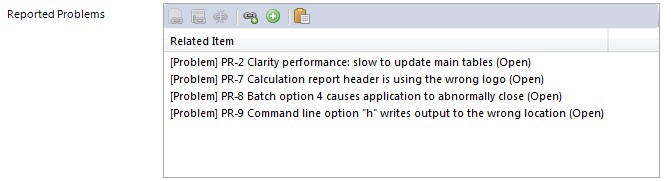
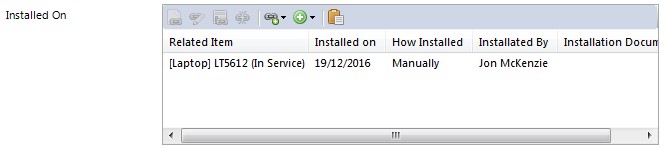
The administrator will determine how the linked items appear in the list. By default only the Object Spec of the target item is listed. This is the most efficient configuration as it is very quick for Cimera to simply get this brief information.
If the type of Valid Link that is being displayed also contains Link data (i.e. the Link is defined as having attributes) then the attributes of the Link are shown alongside the Object Spec:
There is currently no view that merges the full Item List view with the Link attributes view
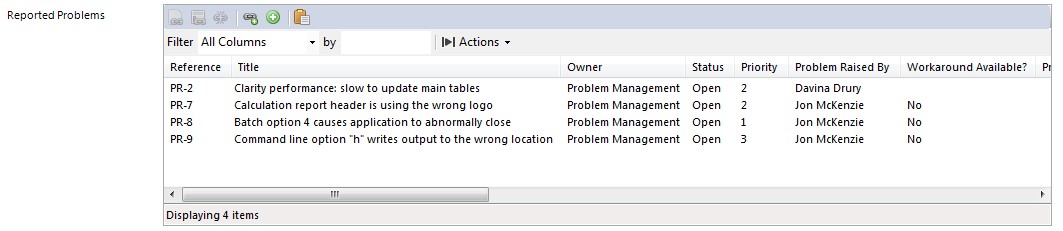
Right-clicking on listed items gives options related to the target items (as per Item List).
WARNING! Do not confuse the Delete option on the right-click of a target item with the Remove Relationship toolbar button. The former deletes an item, the latter deletes a link between 2 items.
Link actions
To perform actions on a link select the appropriate action from the toolbar. The buttons are only enabled if one or more links have been selected.
![]()
Display the details of the Relationship (see Item Details (Create, Display & Update) Window)
![]()
Update the Relationship details. This will only be visible if the Link has attributes defined on it, otherwise there is nothing possible to edit.
![]()
Show the History of the relationship (see History (Actions) Window).
![]()
Remove the Relationship (the Items that form the relationship are not affected but the link is broken)
WARNING! Do not confuse the Delete option on the right-click of a target item with the Remove Relationship toolbar button.
Create new relationships
![]()
Add a relationship to an existing item - Launches the Select Items Window to select the item you wish to relate to the current item
![]()
Add a relationship to a new item - pressing this button will open a new window to create the new item.
Not available if the relationship is to be for a Version. To relate to a new Version select to add an existing item and create a new Version from the Select Items Window.
![]()
Creates a new relationship with the item(s) currently stored in the Cimera Clipboard. If the item(s) in the clipboard are not valid target items (due to not being a suitable Item Type or at an inappropriate status) then an error message is displayed and the action is cancelled.
Note: The administrator may restrict the use of the any of the buttons for a particular relationship in which case they will not appear on the screen
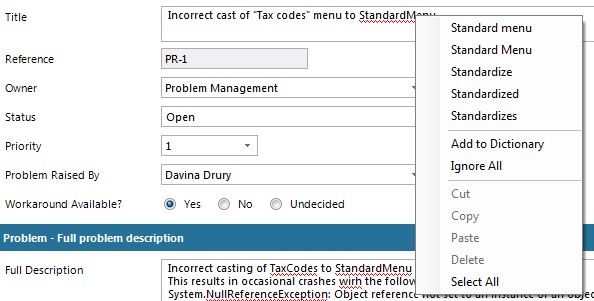
Alhpanumeric, Text and History controls include a spell checker. Spelling errors are highlighted with a red squiggle underline. Right-clicking the errant word will provide a list of suggested fixes as well as the options to ignore or add to the user's personal direcitonary